Creating PDF file with CorelDRAW
For CorelDraw 9.0, to ensure correct program function, please install a patch available at our website, in the Downloads section. After the patch is installed, you can start saving your PDF file.
When your artwork is ready, select 'Publish to PDF' in the File tab.
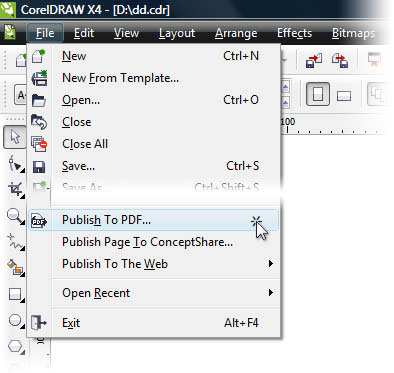
A dialogue box appears where you can enter the name of the file and select the file type. To select proper settings, click Settings.

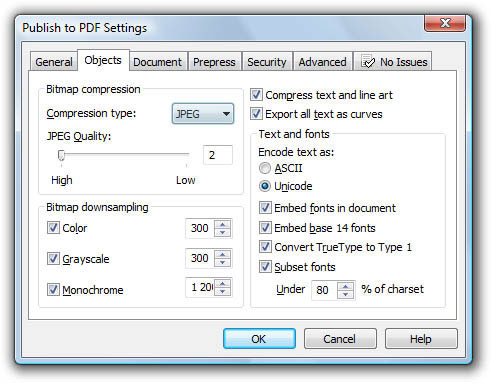
In the Objects tab select: ZIP compression type, Export all text as curves, Bitmap downsampling to 300, 300, 1 200.
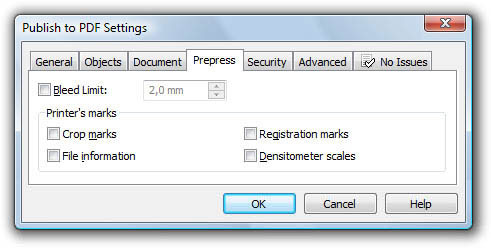
If bleed was taken into consideration during the design of the artwork (recommended), you should uncheck the Bleed Limit option; otherwise, check the option and enter the size recommended in the Preparing File tab (usually 2 mm). Other options should remain unchecked.
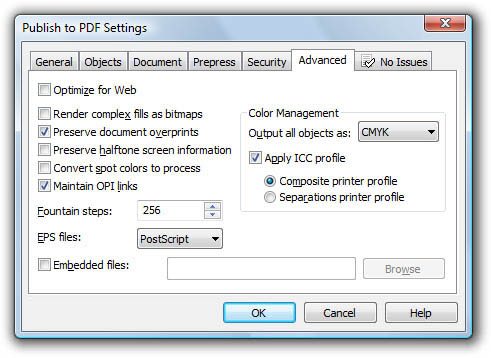
In the Advanced tab, for Colour Management select: CMYK colour space, ICC profile, Composite.
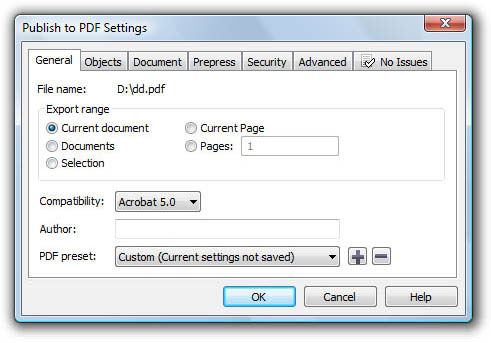
In the General tab, select Compatibility with PDF/X, PDF/X-1a or PDF 1.3 (Acrobat 4.0.)
The appearance of the dialogue boxes may differ depending on the operating system, software and language version.